Chocolate Covered Chips: The Perfect Balance of Sweet and Salty
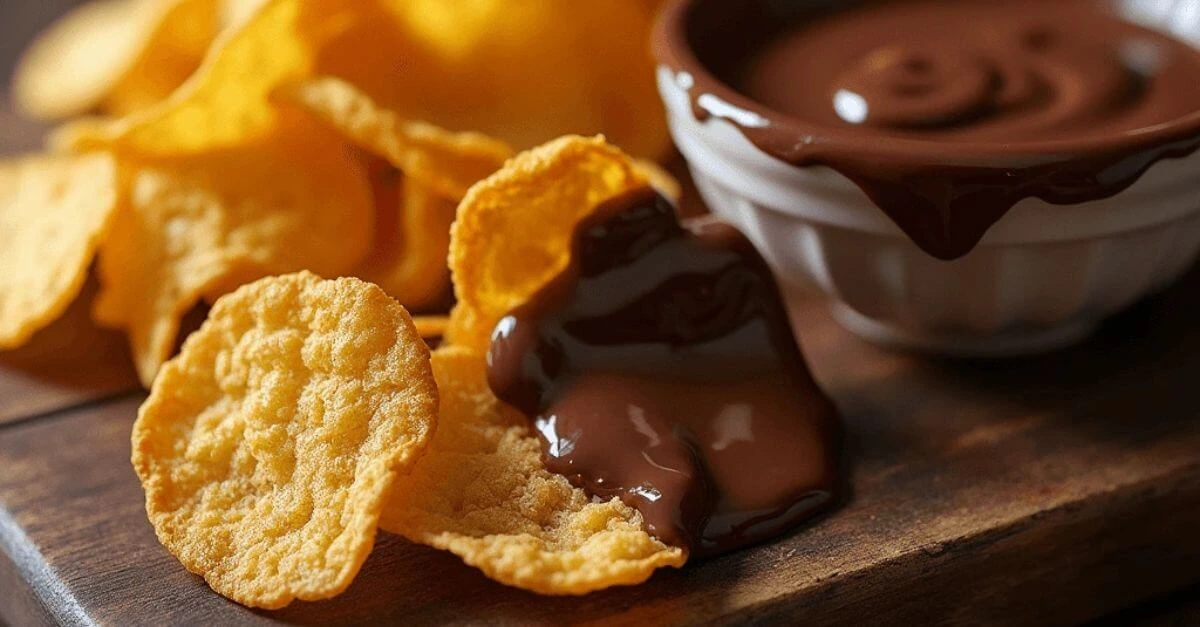
Have you ever found yourself craving something that perfectly combines the richness of chocolate with the satisfying crunch of chips? Chocolate-covered chips deliver exactly that—a delightful balance of sweet and salty that keeps you reaching for more. Whether you’re preparing a snack for a movie night, a party, or just treating yourself, this recipe is quick, simple, and incredibly delicious.
In this guide, you’ll discover how to make your own chocolate-covered chips at home, along with variations, storage tips, and creative flavor combinations to elevate your snack game. Get ready to indulge in a treat that’s as addictive as it is easy to make!
Table of Contents
Why You’ll Love Chocolate Covered Chips
- Irresistible Flavor Combination – The perfect mix of salty and sweet.
- Simple & Quick Recipe – Requires just a few ingredients and minimal effort.
- Customizable – Experiment with different chocolates and toppings.
- Great for Any Occasion – Perfect for parties, gifts, or personal indulgence.
Ingredients and Equipment Needed
Ingredients
| Ingredient | Quantity | Notes |
|---|---|---|
| Potato chips | 2 cups | Use thick-cut or kettle chips |
| Dark chocolate | 200g | Or milk/white chocolate |
| Coconut oil | 1 tbsp | Helps smooth chocolate |
| Sea salt (optional) | 1/2 tsp | Enhances flavor |
| Sprinkles (optional) | As needed | For decoration |
Equipment
- Microwave or double boiler
- Mixing bowl
- Parchment paper
- Fork or tongs for dipping
Step-by-Step Guide to Making Chocolate Covered Chips
Step 1: Melt the Chocolate
Microwave Method:
- Chop the chocolate into small pieces.
- Microwave in 30-second intervals, stirring between each.
- Add coconut oil for a smoother texture.
Double Boiler Method:
- Heat water in a saucepan and place a heatproof bowl on top.
- Add chocolate and stir until fully melted.
Step 2: Dip the Chips
- Use tongs or a fork to dip each chip into the melted chocolate.
- Tap off excess chocolate for a thin, even coating.
Step 3: Add Toppings (Optional)
- Sprinkle sea salt, crushed nuts, or sprinkles before the chocolate sets.
Step 4: Let Them Set
- Place the coated chips on parchment paper.
- Let them cool at room temperature or refrigerate for faster setting.

Variations and Flavor Twists
Different Chocolate Options
- Dark Chocolate – Rich and slightly bitter.
- Milk Chocolate – Classic sweet and creamy.
- White Chocolate – Extra sweet and smooth.
Fun Toppings to Try
- Crushed nuts (almonds, peanuts, pistachios)
- Drizzled caramel or white chocolate
- Spicy twist (cayenne or chili flakes for a kick)
- Coconut flakes for a tropical touch
- Crushed pretzels for an extra salty crunch
Storage and Serving Tips
- Best enjoyed fresh, but can be stored in an airtight container.
- Refrigeration helps keep the chocolate firm.
- Avoid humid environments to prevent the chips from becoming soggy.
- Serve with dip options like caramel sauce or peanut butter for added flavor.
Frequently Asked Questions (FAQ)
Can I Use Any Type of Chips for Chocolate Covered Chips?
Yes! While thick-cut chips work best, you can use ruffled, kettle-cooked, or even sweet potato chips for a unique twist.
How Do I Prevent the Chocolate from Clumping?
Adding a small amount of coconut oil or butter helps keep the melted chocolate smooth and easy to dip.
Can I Make Chocolate Covered Chips Ahead of Time?
Yes! Store them in an airtight container in the fridge for up to 5 days.
Can I Use Different Types of Chocolate Together?
Absolutely! You can mix dark, milk, and white chocolate to create unique flavor combinations.
Conclusion: Your New Favorite Sweet and Salty Snack
Chocolate-covered chips are easy, fun, and endlessly customizable. Experiment with different chocolates and toppings to create your perfect batch. Try making them for your next party, gift, or personal snack stash—you won’t regret it!
Give it a try and share your experience in the comments below! What’s your favorite flavor combination?